Table of Contents
Are you ready to take your videos to the next level? Green screen technology is one of the most powerful tools in a filmmaker‘s toolkit. With green screens, you can create incredible movie magic – but only if you know how to use them.
Fortunately, today’s video editing programs like iMovie make it easy and fun to experiment with green screen effects. In this article, we’ll explain how to use green screen on iMovie and show you some cool examples of what you can create. Get ready to upgrade your cinematic creativity and learn how to use green screen on iMovie!
How to Use Green Screen on iMovie in 6 Steps
Whether you want to transport your subjects to exotic locations or add a custom background to your shot, green screen is a versatile technique that can add a professional touch to your videos.
To get started, open iMovie and create a new project. Then, follow these steps to use green screen on iMovie:
Step 1: Add your background
First, add the background video or image to your timeline. Click the Add Media button and select the file from your computer. Drag and drop it into the timeline, and use the handles to adjust the length of the clip if necessary.
Step 2: Add your green screen footage
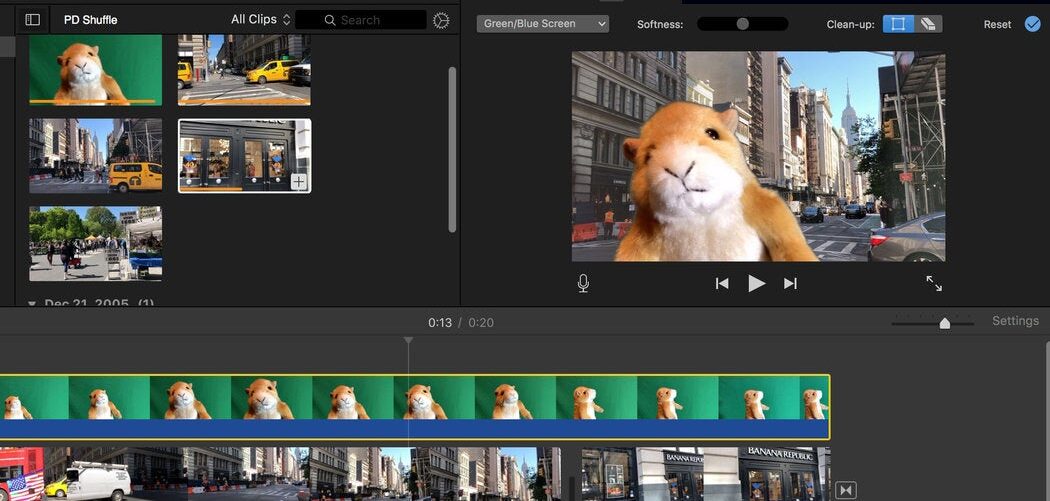
Next, you need to add your green screen footage to the timeline. Click the Add Media button and select the green-screen clip. Drag and drop it above the background clip in the timeline.

Step 3: Adjust the green screen effect
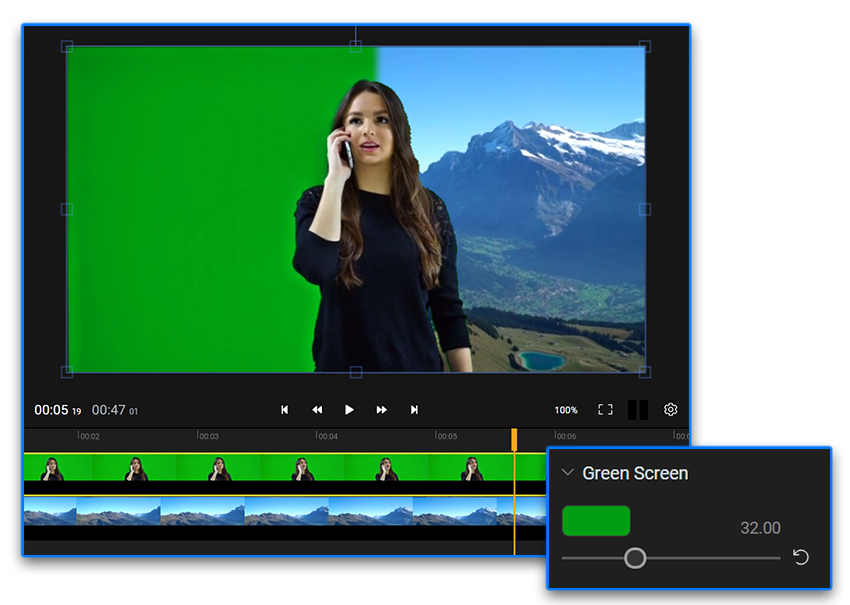
Double-click the green screen clip to open the inspector. Select the Green/Blue Screen option from the Cutaway drop-down menu. The edges of the layered clip can be made smoother or rougher by dragging the Softness slider. You can also isolate areas of the green screen clip by clicking the Crop button and dragging the corners.
Step 4: Customize the background
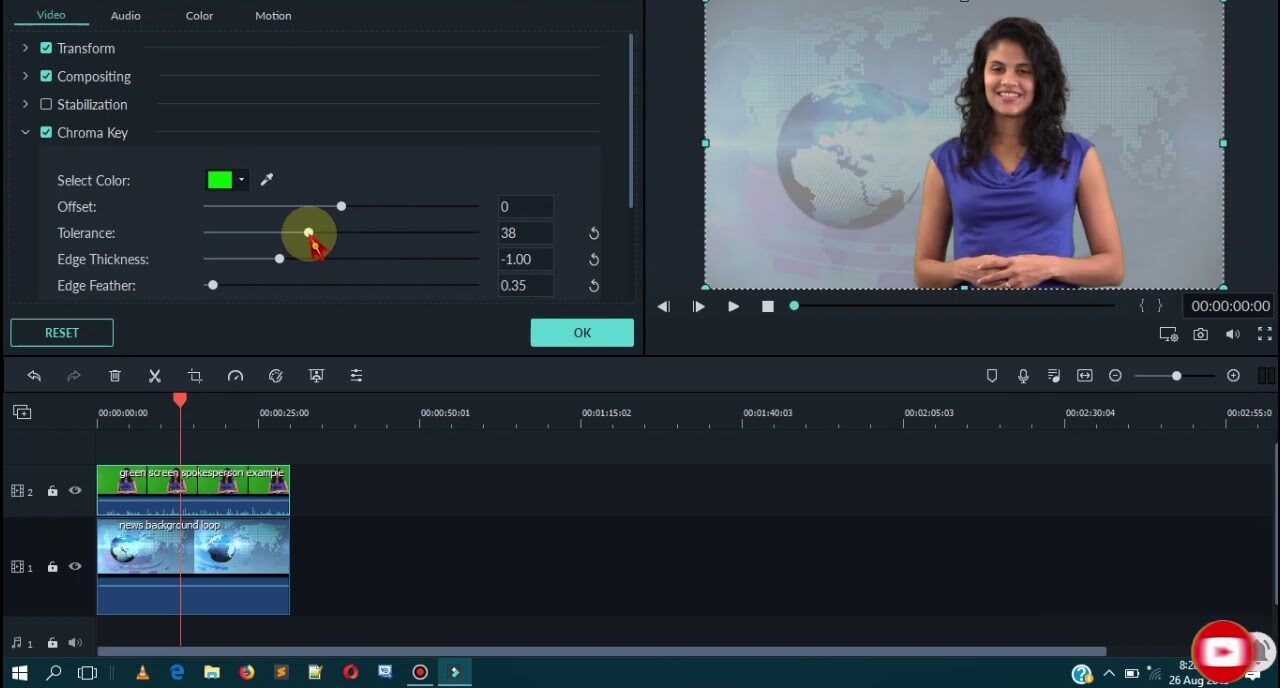
Now that you’ve added your green screen footage, you can customize the background. Double-click the background clip to open the inspector. You can adjust the clip’s position, size, and duration, add filters, or adjust the color balance.
Step 5: Add text or titles
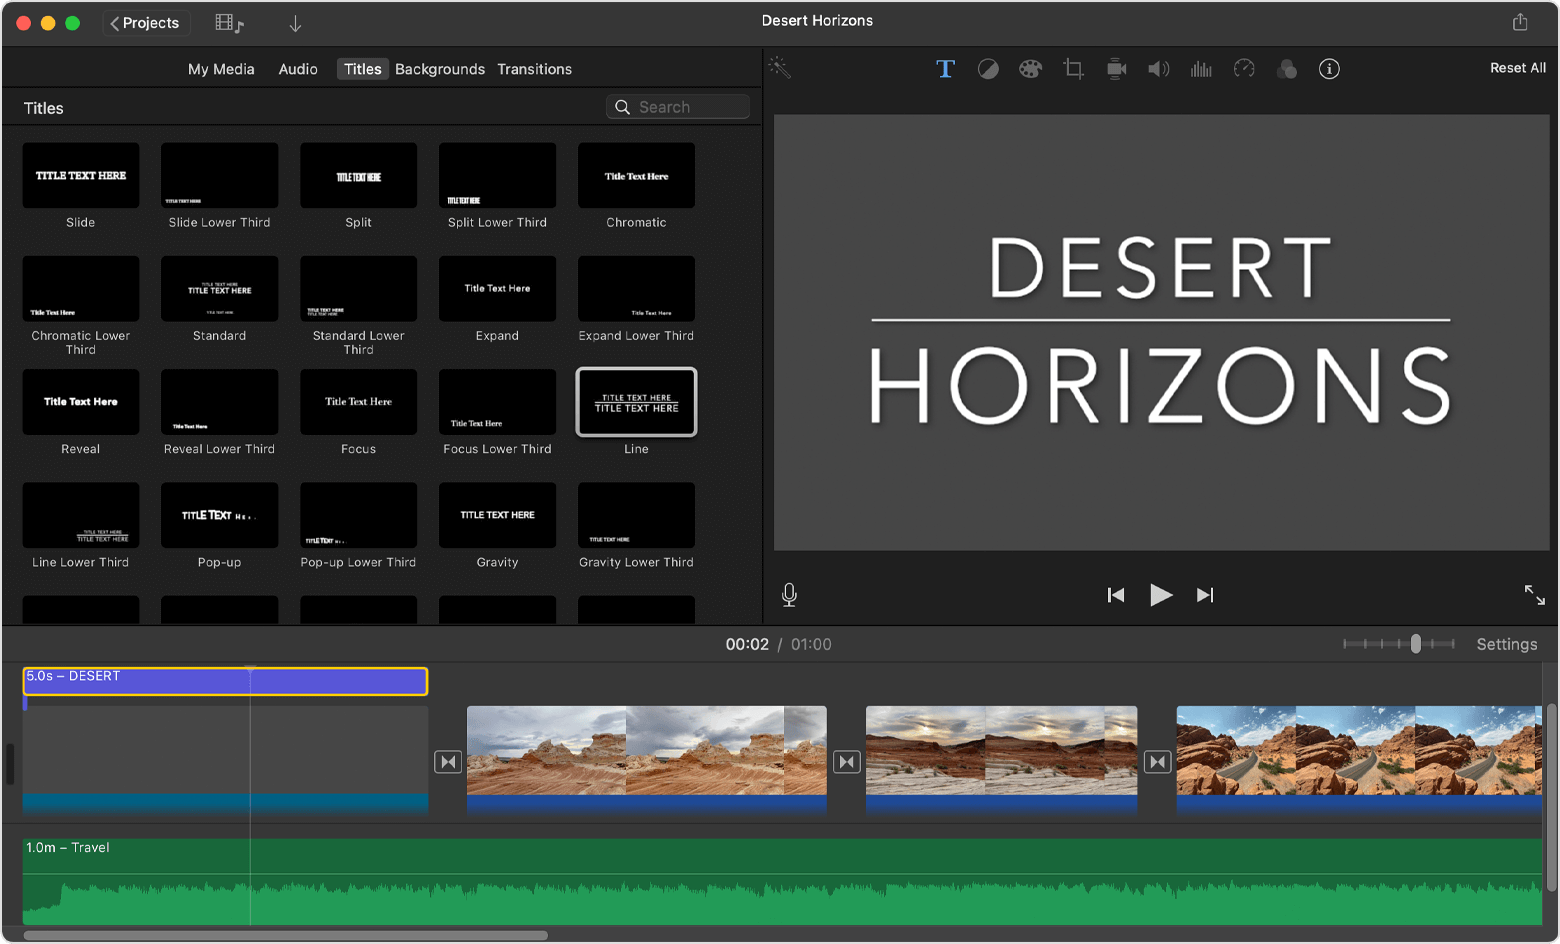
Do you have a video that needs some spicing up? iMovie has got you covered! With just a few taps on your screen, you can easily add some flare to your project. Start by selecting the clip you want to edit, then tap the Titles button in the inspector below. You can customize the text with whatever words you wish. Furthermore, adjusting the position of the text is as simple as dragging it around the screen. Don’t settle for an ordinary video – level up and make something great with iMovie today!
Step 6: Export and share
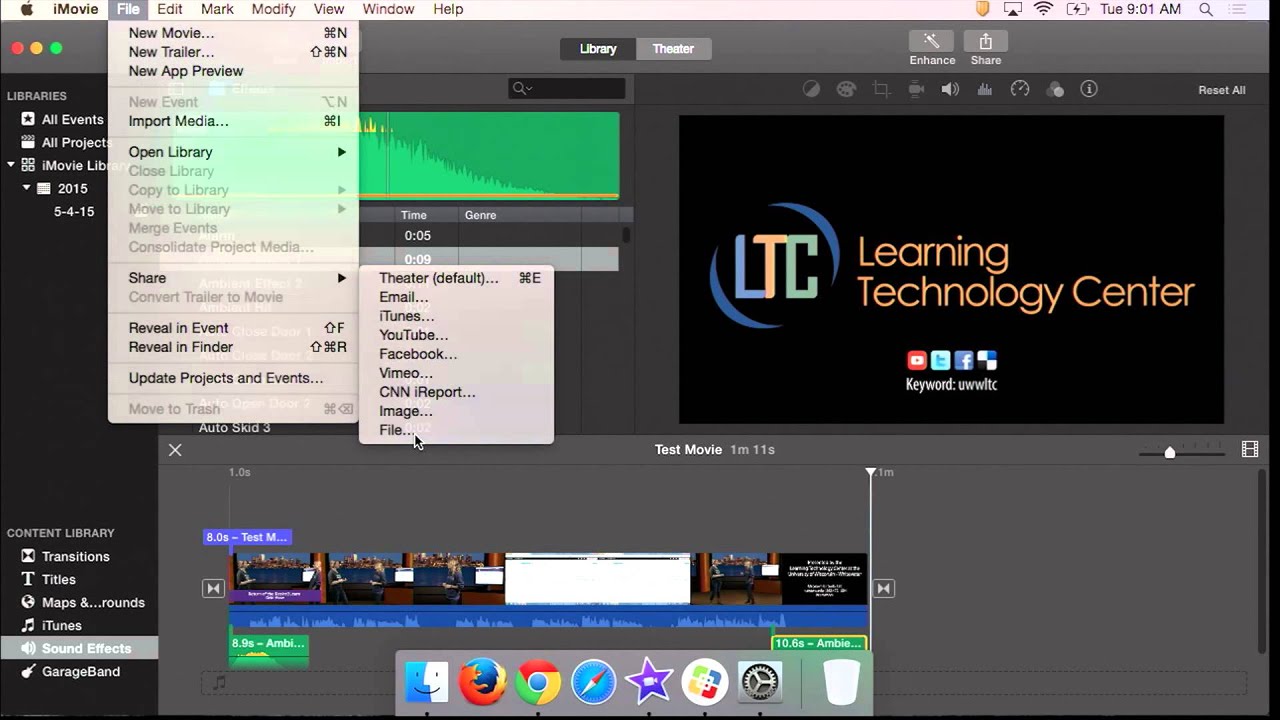
Once you’ve finished editing your video, it’s time to export and share it. Click the Share button in the top right corner of the screen and select your preferred method of sharing. You can save the video to your computer, upload it to social media, or share it with friends and family. This is how to use green screen on iMovie.
How do you add a green screen on iMovie mobile?
To add a green-screen effect to your iMovie mobile project, you need to follow the steps below:
- Open your iMovie mobile project and add a background video clip or still image to the timeline.
- You can see more of the background video by moving the playhead (the white vertical line) over it.
- Select the green-screen video by tapping the “Add Media” button, then tapping the category it belongs to.
- Tap the “More” button and “Green/Blue Screen” to apply the effect to your selected clip.
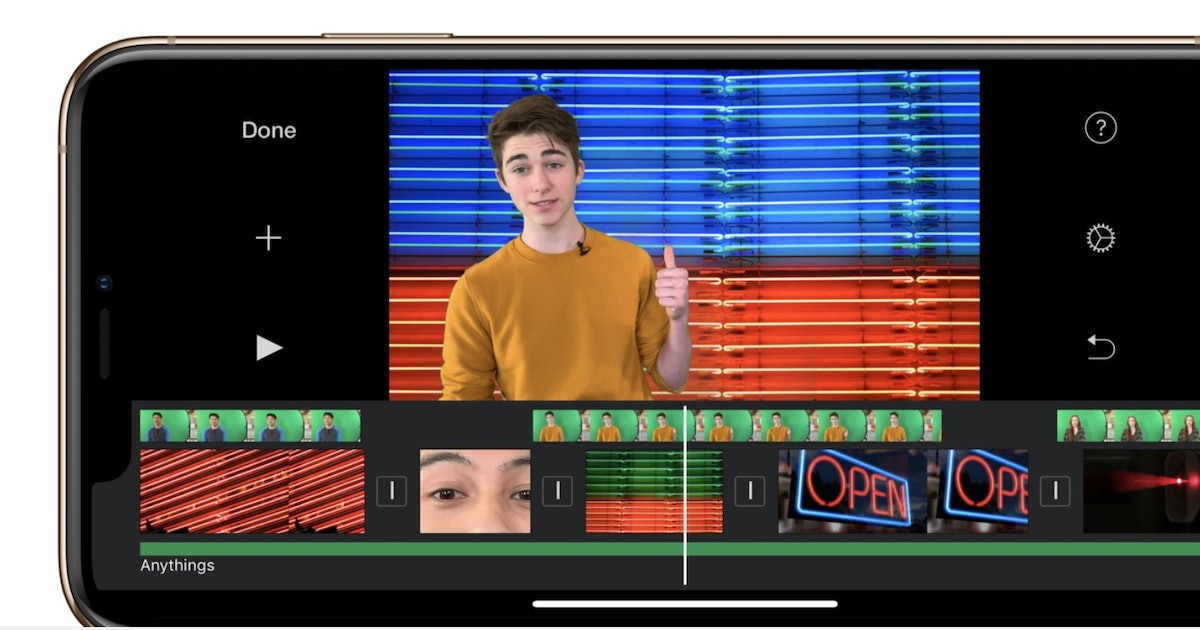
The green-screen effect allows you to replace the green or blue background with another image or video, giving you the flexibility to create creative compositions with your footage. iMovie mobile also offers additional features to refine the green-screen effect, such as adjusting the threshold or smoothness of the effect.
Does iMovie have Chroma Key?
Yes, iMovie has built-in Chroma Key functionality since iMovie ’09, and it does not require additional plugins or setup. To apply the Chroma Key effect in iMovie, select your clip and choose the “Chroma Key” effect from the effects menu. Once you have added the effect, you can select the chroma key color, which can be any color not present in the clip and easy to key out. You may need to refer to the documentation or other resources online to add a Chroma Key effect in an earlier version of iMovie.
It’s worth noting that Chroma Key is also known as green screen and iMovie’s built-in green screen editing feature can be accessed by ensuring that the Advanced Tools option is ticked in the general section of iMovie’s Preferences.
Overall, iMovie offers easy-to-use Chroma Key functionality without the need for any additional software or plugins.
Bonus Tips: Where to Find Massive Green Screen Videos
If you’re looking for massive green-screen videos, there are plenty of sources online to explore. Stock video libraries such as Shutterstock and iStock offer a wealth of royalty-free green screen footage. Most libraries feature an advanced search engine allowing users to filter by clip duration, resolution, asset type, and more to narrow down the results.
Additionally, many video editors and content creators have compiled vast collections of green screen footage available for purchase or download. YouTube is another great source for free green screen footage. Users can search through millions of high-quality clips and find something that matches their needs.
Many of these clips are completely free to use with attribution, but it is always important to double-check any usage terms before downloading a clip. Finally, aspiring videographers may opt to film their own green screen footage. While this requires additional equipment investment and production time, users can create clips tailored to their needs and vision. Ultimately, finding the perfect green screen footage all boils down to what works best for you and your project’s budget.


